I will explain in this post how you can do this tricky picture in Photoshop.
Step1
Take the photos you want to mix.
I used a framed calendar and we hold it with its back facing the camera. Any frame works. Bigger the frame, better the result.
Take care when you take the pictures. For an easy handling of the pictures:
- I recommend that you take the photos in different places, with different backgrounds
- keep the frame straight
- zoom as much as possible, but also leave some margins so you can easily select areas. (as you can see, my picture (the 3rd picture) was not so good from this point of view, so my head is not complete in the mixed picture).
Step2
Place all of them in one folder:
Step3
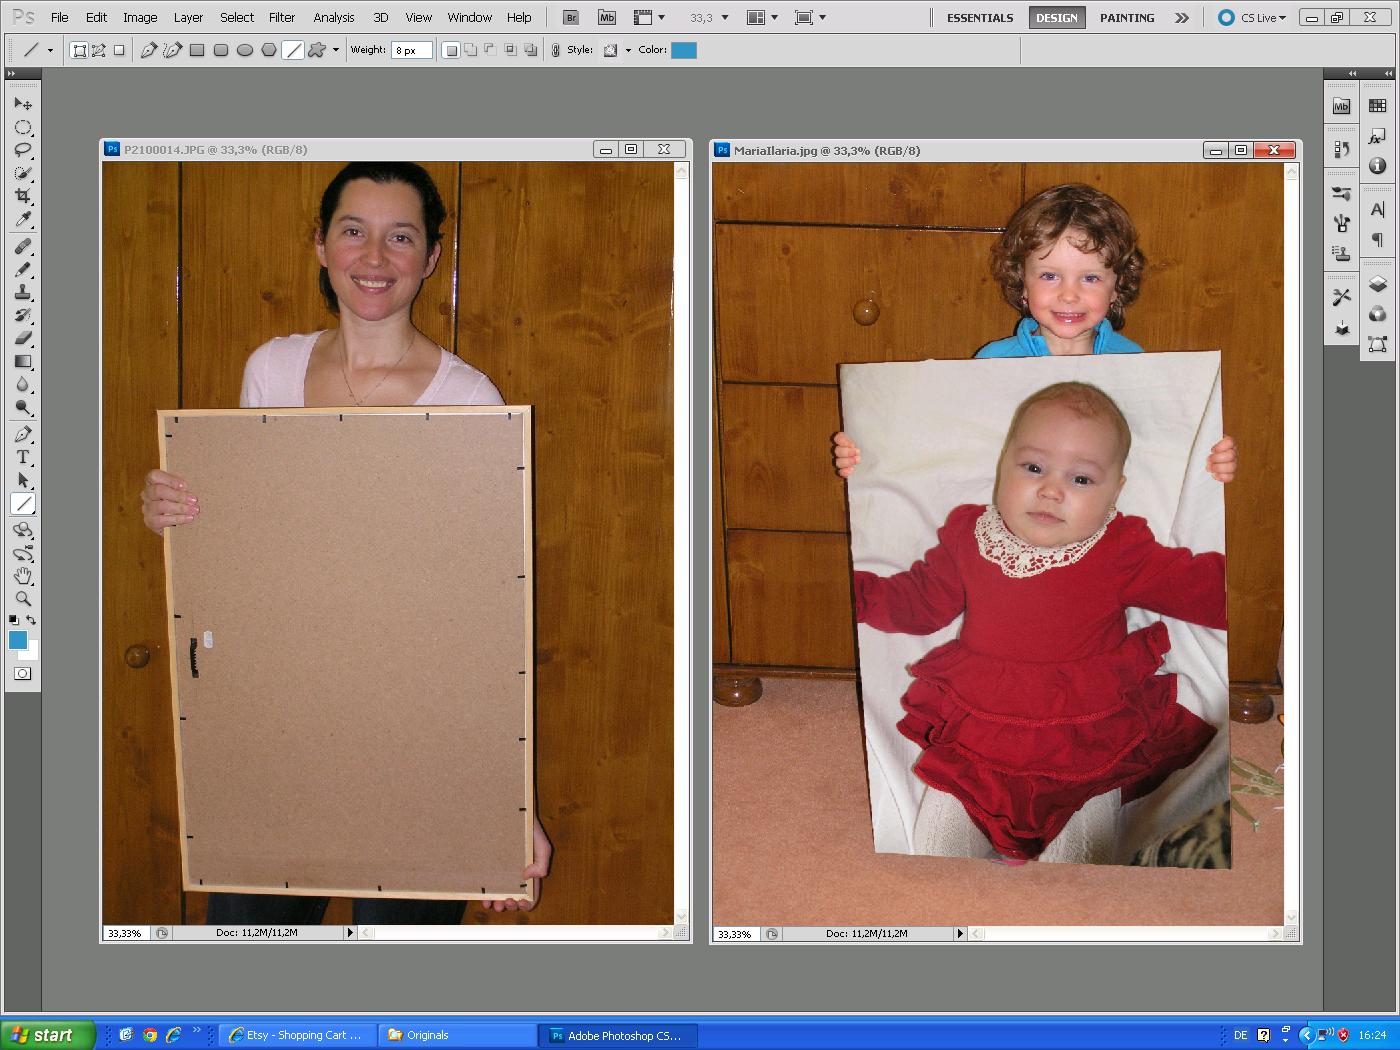
Open in Photoshop 2 pictures you want to mix:
Step4
Use "Quick selection tool" for selecting the frame from the "target" picture. For a fast and precise selection, use "Add to selection", "Subtract from selection" and "Size" options, too.
This is the most delicate part of the project - to select correctly the wanted area.
Not only punctual clicks, but also dragging works with these tools.
Step5
Select "Lasso tool" and drag and drop the selection area on the other picture:
Step5a
If the selection area doesn't include enough information from the 2nd picture (as it also happened in my case), use "Image" -> "Image size" in order to obtain a better part of the photo.
In my case, I modified the 2nd photo's width from 1712 to 1212, in order to obtain a more "rich" selection area:
Step6
Now use "Move tool" and drag and drop the portion from the 2nd picture into the 1st picture's "frame":
Step7
Save the new photo.
Step8
Turn back to Step3 and continue your project, by filling a new empty frame:
And so on, depending on how many family members your family has.
When my project has been finished, I realized that not enough contrast was in my final picture. (I recommend that you take the photos in different places, with different backgrounds. As we still have big snow outside, I preferred to take the pictures inside.)
So I had to "frame" the pictures. I used the "Line tool" with "Style": "Overspray" and different values for "Weight" parameter.
I hope you'll find this tutorial useful.
In case of questions regarding this project, feel free to contact me.
Happy Photoshopping ;-)
P.S.: for doing this project I have been inspired by
this picture found on
Pinterest.
Pin It


